
Singer HD6380M Manual: A Comprehensive Guide
Today, May 5th, 2026, we present this manual to empower users with a detailed understanding of the Singer HD6380M, maximizing its sewing potential.
Welcome! This section introduces the Singer HD6380M, a heavy-duty sewing machine designed for both beginners and experienced sewists. As of today, May 5th, 2026, this machine stands as a reliable workhorse capable of handling a wide variety of fabrics and projects.
The HD6380M boasts a robust motor and a durable metal frame, ensuring consistent performance and longevity. This manual serves as your comprehensive guide, walking you through every aspect of operation, from initial setup to advanced techniques. We aim to unlock the full potential of your machine, enabling you to create beautiful and lasting projects with confidence. Prepare to explore a world of sewing possibilities!
Unboxing and Initial Setup
Carefully unpack your Singer HD6380M, ensuring all components are present. Today, May 5th, 2026, begin by verifying the included accessories: power cord, foot controller, various presser feet, bobbins, needle set, screwdriver, and this manual.
Remove all packing materials. Connect the power cord and foot controller. Next, install the bobbin according to the threading instructions (detailed later). Gently place the machine on a stable, level surface. Ensure adequate lighting for optimal visibility. Before your first project, practice stitching on scrap fabric to familiarize yourself with the machine’s operation. A properly set up machine is key to successful sewing!
Key Features and Specifications
The Singer HD6380M, as of today, May 5th, 2026, boasts a heavy-duty metal frame for enhanced durability and consistent stitching. It features 60 built-in stitches, including decorative, stretch, and buttonhole options. A standout is the automatic needle threader, simplifying setup.
Specifications include an adjustable stitch length and width, a maximum sewing speed of 1,100 stitches per minute, and a drop-in bobbin system. The machine accommodates various fabric types, from lightweight silks to denim. Its free arm design facilitates cuff and sleeve sewing. Enjoy versatile performance with this robust and reliable sewing machine!

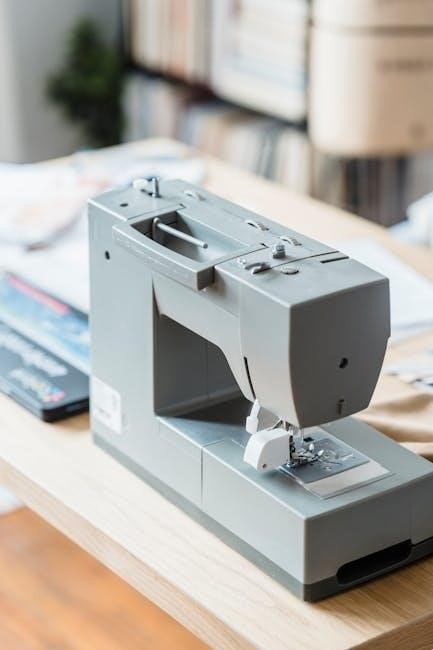
Understanding the Machine Components
Today, May 5th, 2026, we will explore the Singer HD6380M’s parts, detailing the main body, control panel, and bobbin winding system for optimal use.
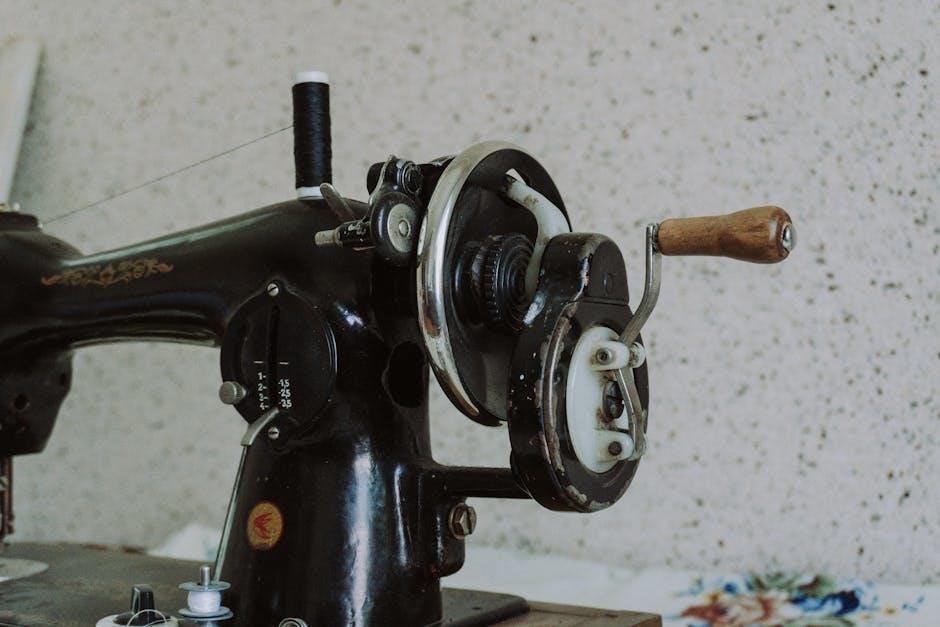
Main Body and Housing
Today, May 5th, 2026, let’s examine the robust construction of the Singer HD6380M’s main body. The housing is crafted from a durable, heavy-duty metal frame, providing stability during operation, even with thicker fabrics. This internal metal framework minimizes vibrations, contributing to consistent stitch quality and prolonged machine life.
The exterior casing is designed for user comfort and accessibility. Notice the ergonomic handle for easy transport and storage. The machine’s weight, while substantial, is balanced for manageable handling. Carefully inspect the exterior for any shipping damage before initial use. The housing protects the intricate internal mechanisms, ensuring reliable performance for years to come;
Control Panel Overview
Today, May 5th, 2026, the Singer HD6380M’s control panel is intuitively designed for ease of use. The power switch, clearly marked, initiates machine operation. Stitch selection is achieved via a dial, offering a range of options from straight to zigzag and decorative stitches. Separate dials control stitch length and width, allowing for precise adjustments.
A reverse stitch lever is conveniently located for secure backstitching. The speed control slider provides variable sewing speed, ideal for both beginners and experienced sewers. Observe the needle position buttons – up/down – for enhanced control. Familiarize yourself with each control before beginning a project to maximize efficiency and achieve optimal results.
Bobbin Winding System
Today, May 5th, 2026, the Singer HD6380M features a top-loading drop-in bobbin system, simplifying the winding process. Begin by placing the thread spool on the spool pin and guiding the thread through the tension disc. Next, thread the bobbin pin and securely attach the empty bobbin.
Engage the bobbin winding mechanism by pushing the bobbin spindle to the right. Gently press the foot pedal to begin winding; the machine will automatically stop when the bobbin is full. Disengage the winding mechanism and remove the full bobbin. Proper winding ensures even stitch formation and prevents thread breakage during sewing operations.
Threading the Singer HD6380M
Today, May 5th, 2026, mastering the threading process—upper, lower, and needle—is crucial for optimal performance and achieving beautiful, consistent stitches.
Upper Threading Guide
Today, May 5th, 2026, successful upper threading begins by ensuring the machine is off and the presser foot is raised. Place the spool of thread onto the spool pin, securing it with the cap. Guide the thread through the first thread guide, then down and around the tension disc – this is vital for proper stitch formation.
Next, lead the thread up and through the take-up lever, ensuring it’s fully seated within the lever’s hook. Continue threading through the remaining thread guides, following the numbered path indicated on the machine. Finally, thread the needle from front to back. Incorrect threading can cause skipped stitches or tension issues, so double-check each step!
Lower Threading (Bobbin)
Today, May 5th, 2026, proper bobbin threading is crucial for balanced stitches. Begin by winding the bobbin with thread, following the bobbin winding system instructions – ensuring even distribution. Once wound, insert the bobbin into the bobbin case, ensuring it rotates freely and the thread unwinds in the correct direction, typically counter-clockwise.
Guide the thread through the tension spring of the bobbin case, then through the slot. Carefully insert the bobbin case into the shuttle hook, making sure it clicks securely into place. Gently pull the thread to ensure it’s properly engaged. Incorrect bobbin threading leads to nesting or uneven stitches.
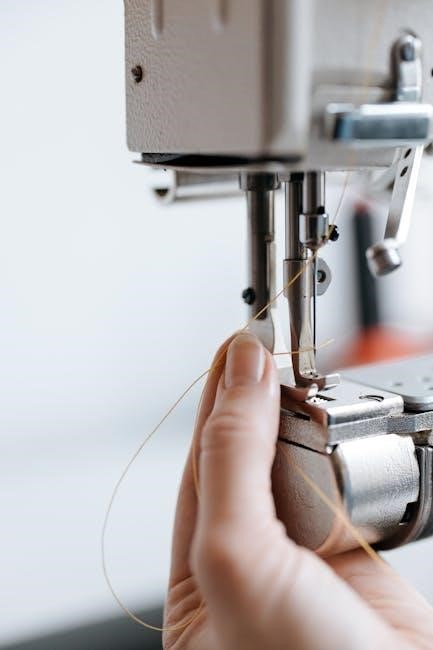
Needle Threading Instructions
Today, May 5th, 2026, begin by raising the needle to its highest position using the handwheel. Locate the spool pin and place your thread spool securely. Guide the thread through the first thread guide, then down through the tension discs – ensure it’s firmly seated between them for proper tension.
Next, lead the thread up through the take-up lever, and then down through the needle clamp. Finally, thread the needle from front to back. A needle threader can be incredibly helpful for easier threading, especially with finer threads. Always double-check that the thread is fully inserted through the needle’s eye.

Basic Sewing Operations
Today, May 5th, 2026, mastering fundamental techniques like straight and zigzag stitching unlocks the Singer HD6380M’s potential for diverse sewing projects and repairs.
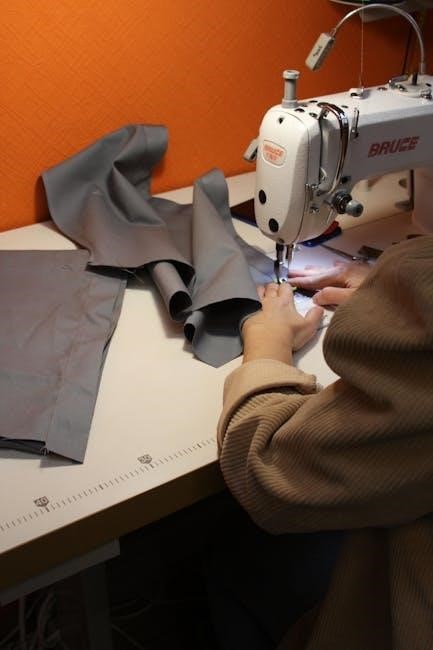
Straight Stitching
Today, May 5th, 2026, the straight stitch is the foundation of most sewing projects with your Singer HD6380M. Begin by selecting the straight stitch option on the control panel – typically stitch number one. Ensure your fabric is positioned correctly under the presser foot, aligning the desired seam allowance with the guide markings on the needle plate.
Gently lower the presser foot and begin sewing at a moderate, consistent speed. Avoid pulling or pushing the fabric; let the machine feed it through naturally. For longer seams, maintain a steady rhythm. Backstitch at the beginning and end of the seam to secure the stitches, preventing unraveling. Practice on scrap fabric to achieve consistent stitch quality and comfortable control before tackling your final project. Remember to adjust stitch length as needed for different fabric weights.
Zigzag Stitching
Today, May 5th, 2026, the Singer HD6380M’s zigzag stitch offers versatility for various applications. Select the zigzag stitch on the control panel, and experiment with different stitch widths and lengths. A narrower width is ideal for reinforcing edges, while a wider width creates decorative effects.
Zigzag stitching is excellent for preventing fabric fraying, especially on knit fabrics. When sewing seams with a zigzag stitch, ensure the fabric edges are aligned. Adjust the stitch length based on the fabric weight; shorter stitches are suitable for lightweight materials, and longer stitches for heavier ones. Practice on scrap fabric to master controlling the stitch width and length for desired results. Remember to backstitch at the beginning and end of each seam for added security.
Adjusting Stitch Length and Width
Today, May 5th, 2026, mastering stitch length and width adjustments on your Singer HD6380M is crucial for optimal sewing. Locate the dedicated dials or buttons on the control panel – typically labeled for length and width. Shorter stitch lengths (lower numbers) create denser, stronger seams, ideal for heavy fabrics or areas needing reinforcement.
Longer stitch lengths (higher numbers) are better suited for basting, gathering, or lightweight fabrics. Stitch width controls the side-to-side deviation of the needle. Narrow widths are for straight stitching, while wider widths create zigzag or decorative patterns. Always test settings on scrap fabric before starting your project to ensure the desired appearance and functionality. Careful adjustment ensures professional-looking results.

Advanced Features & Techniques
Today, May 5th, 2026, unlock your Singer HD6380M’s full potential with buttonholes, zipper insertion, and free-motion quilting techniques for creative projects.
Buttonhole Sewing
Today, May 5th, 2026, the Singer HD6380M simplifies buttonhole creation with its automatic one-step buttonhole function. Begin by selecting the appropriate buttonhole foot and the buttonhole stitch on the machine’s control panel.

Next, position your fabric, ensuring it’s stabilized with a stabilizer if needed, and lower the presser foot. The machine will automatically sew the buttonhole, stopping at each corner for precise shaping.
Carefully follow the markings on the buttonhole foot as a guide. After the buttonhole is complete, reinforce the beginning and end with a few backstitches. Practice on scrap fabric to achieve consistent results and familiarize yourself with the machine’s settings for different button sizes.
Zipper Insertion
Today, May 5th, 2026, inserting zippers with the Singer HD6380M is streamlined using the zipper foot. Attach the appropriate zipper foot to your machine. Position the zipper face down, aligning the zipper teeth with the desired seam allowance on your fabric.
Begin sewing close to the zipper teeth, using a straight stitch. Slowly guide the fabric, keeping the zipper pull slightly up to allow the foot to navigate smoothly. Once you reach the end, backstitch to secure the seam.
Repeat on the other side of the zipper. For a centered zipper, carefully align and stitch the other side, ensuring even placement. Practice on scrap fabric to master the technique and achieve professional-looking results.
Free Motion Quilting
Today, May 5th, 2026, the Singer HD6380M excels in free motion quilting! First, drop the feed dogs – a crucial step for unconstrained fabric movement. Attach the darning foot, designed for this technique. Set the stitch length to zero for complete control.
Gently lower the presser foot and begin moving the fabric smoothly under the needle, guiding your design. The hand controls dictate both stitch formation and pattern direction. Consistent speed and even pressure are key.
Practice on a quilt sandwich (top, batting, backing) to get comfortable. Experiment with different thread weights and designs. Remember, free motion quilting requires practice, but the HD6380M makes it accessible!

Maintenance and Troubleshooting
Today, May 5th, 2026, regular cleaning and oiling ensure optimal performance of your Singer HD6380M, resolving common issues swiftly and efficiently.
Cleaning and Oiling
Today, May 5th, 2026, maintaining your Singer HD6380M involves regular cleaning to remove lint and debris from the bobbin area, feed dogs, and surrounding components. Always power off and unplug the machine before commencing any cleaning procedures. A small brush, often included with the machine, is ideal for these areas.
Oiling is crucial for smooth operation. Apply a few drops of sewing machine oil to the designated oiling points – typically indicated in your machine’s diagram – including the bobbin race and hook area. Avoid over-oiling, as excess oil can attract lint. Wipe away any excess oil with a clean cloth. Consistent cleaning and oiling will prolong the life of your Singer HD6380M and ensure consistent stitch quality.
Common Problems and Solutions
Today, May 5th, 2026, encountering issues with your Singer HD6380M is normal. A frequent problem is thread bunching – often caused by improper threading or incorrect tension. Re-thread both the upper and lower threads, ensuring they are correctly seated. Another common issue is skipped stitches, which can stem from a dull or incorrectly inserted needle.
If the machine jams, stop immediately and carefully remove the fabric. Never force it. For unusual noises, check for lint buildup or ensure proper lubrication. Consult the manual’s troubleshooting section for specific error codes or diagrams. If problems persist, consider contacting a qualified sewing machine technician for assistance.